|
So you're thinking of getting a home bar for your entertainment room?
Before you start shopping for ready made bars, why not consider building a home bar yourself.
You might be surprised at how easy, and less expensive that option can be.
All you need are some basic wood working skills (and I do mean basic), a bit of timber and a rough plan!
After building our house, well even before that, I wanted a bar room. Having lived in London for about 5 years,
and travelling through Europe, I accrued quite a few souvenirs that would be right at home in my home bar.
So there I was, room allocated and wife's permission for the green light. OK - Let's get the bar!
Of course, off we went to the various shops that sell bars ready made.
Problem was the bars were either wrong style, wrong colour, wrong shape and usually WRONG PRICE!
Solution: DIY Home Bar. Yep, I was going to build my own bar.
Now I'm not a complete fool with tools but believe me when I say I am no A-grade carpenter. You don't need to be.
I found any little 'imperfections' simply add to the character of the bar. So where to start?
Building your Home Bar
This is the approach I took, and professional carpenters may well cringe. But hey, I'm not a professional carpenter.
Step 1
Sketch out a rough plan, have an idea of what you want it to look like.
Search the internet for bar images and go from there.
Step 2
Get your bar shape sorted and where it will go.
Consider things like a bar fridge space.
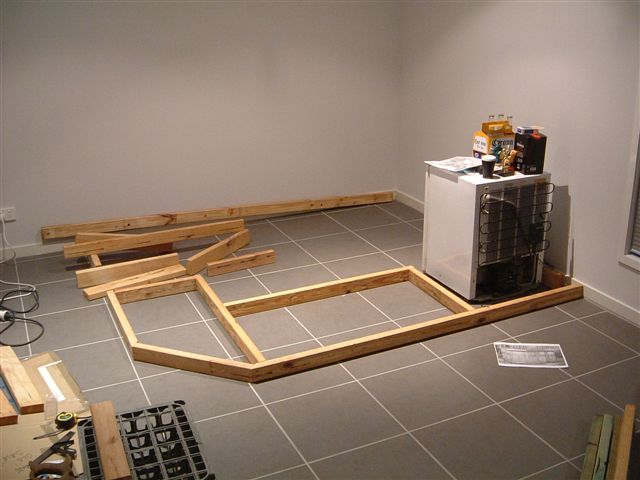
Step 3
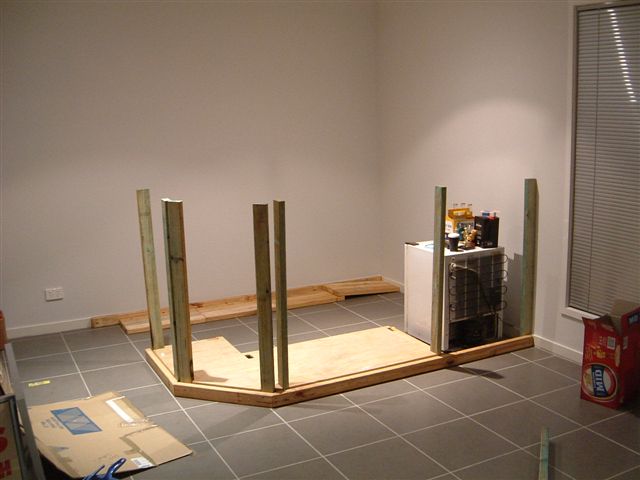
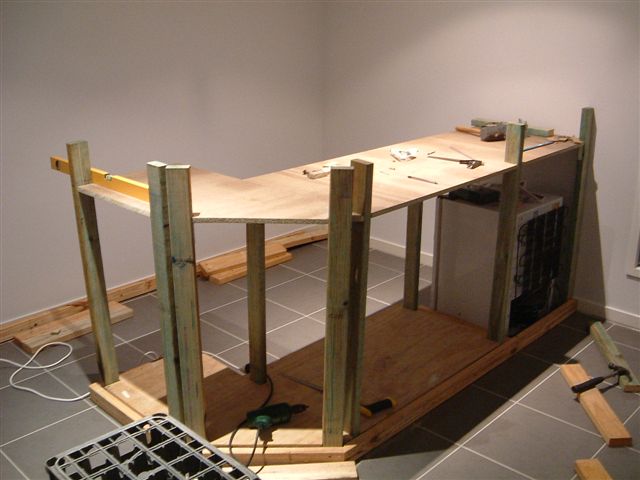
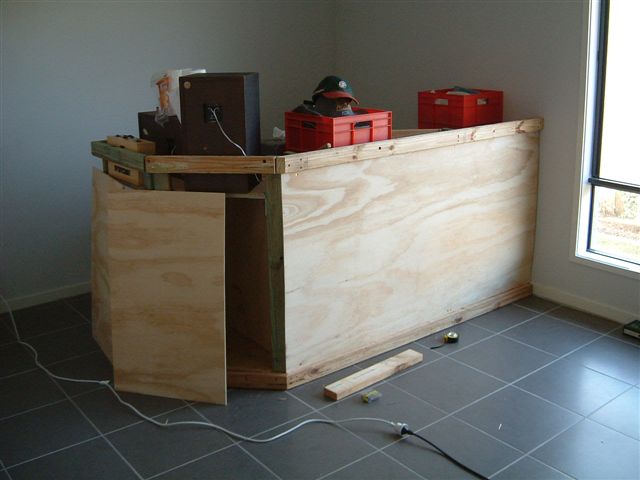
Work out your height of the bar - what ever is comfortable, do some test leaning against something and measure it.
Mine is 1075mm. Put the base on using a solid ply or chipboard, whatever you can get your hands on. I used housing studs
for my upright supports.
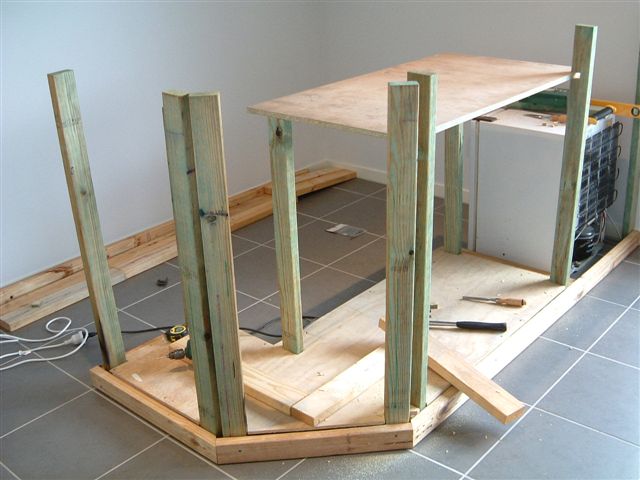
Step 4
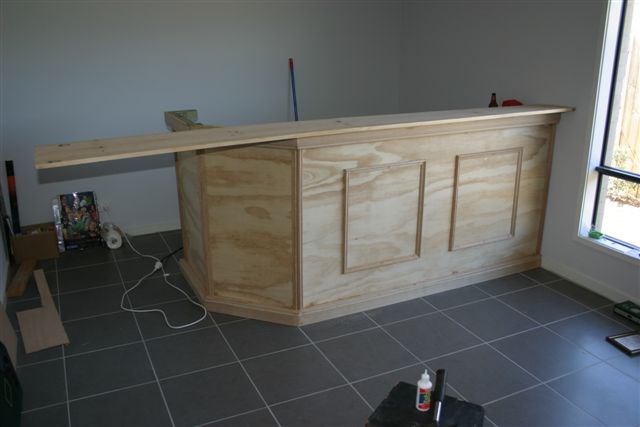
Cut and fit your top - this is not the bar top itself, but the underlying top that you see when behind the bar.
Ensure everything is square and level as you attach it to the uprights. 90 degree metal brackets will help in places.
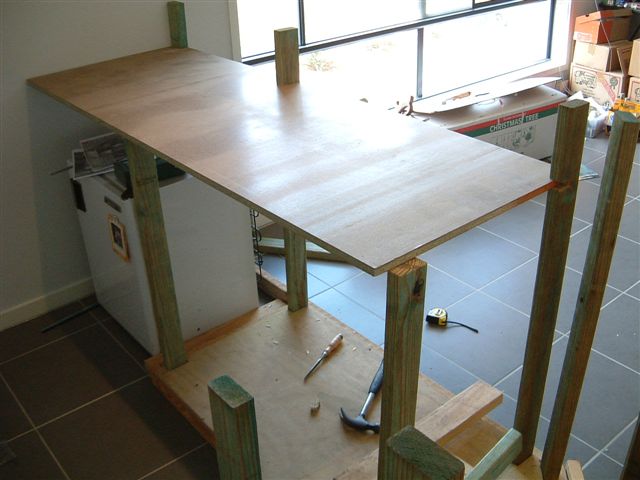
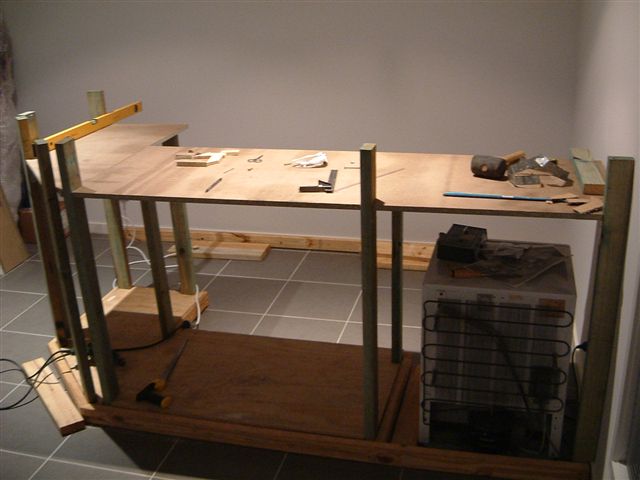
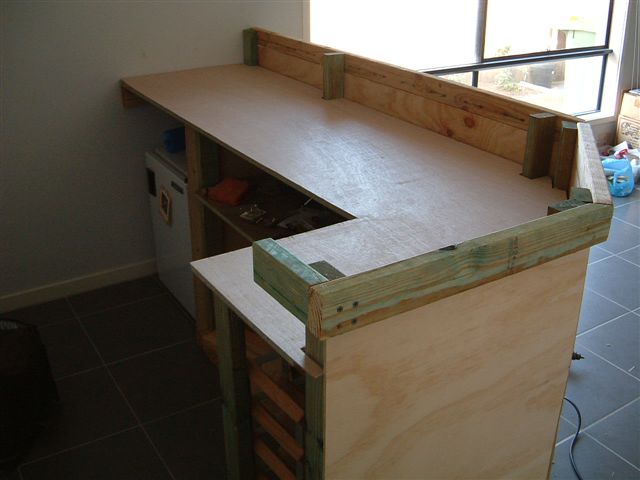
Step 5
Attach top studs, this will form the immediate piece below the bar top itself. These are to be dressed after.
Place shelfs inside, as well as side walls.
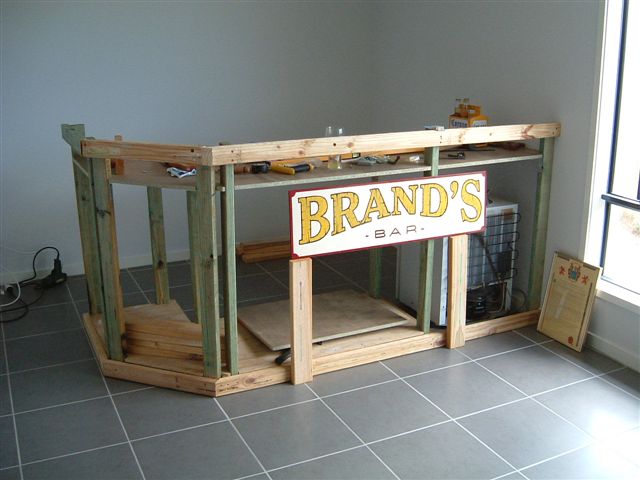
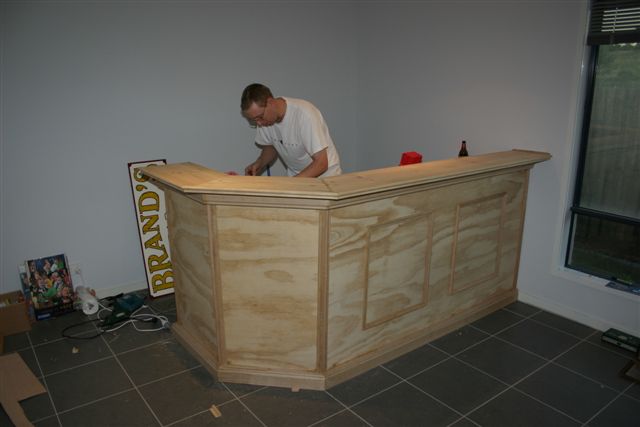
Step 6
Fix front panels - I like the grain effect in the ply. Also the top shelf is on and weighted down as glue bonds.
The top studs are also dressed.
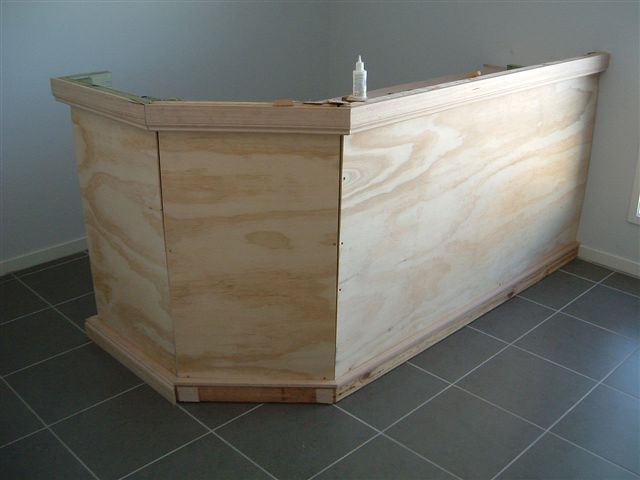
Step 7
You can now dress the front of the bar to cover the seems where the front panels meet.
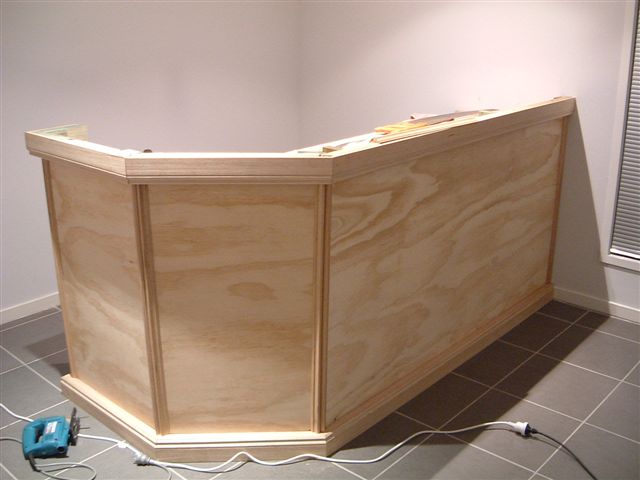
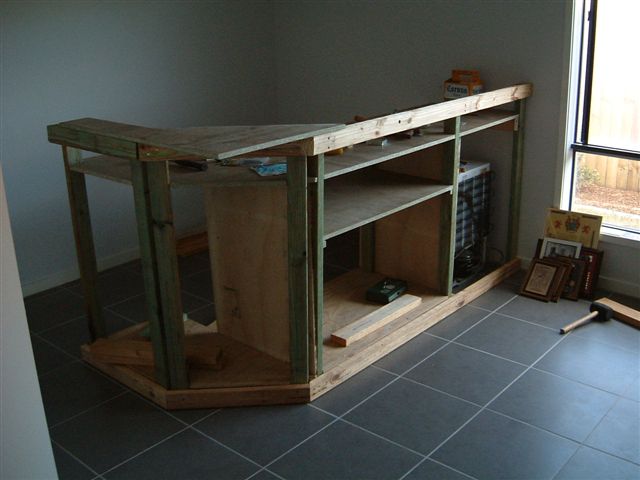
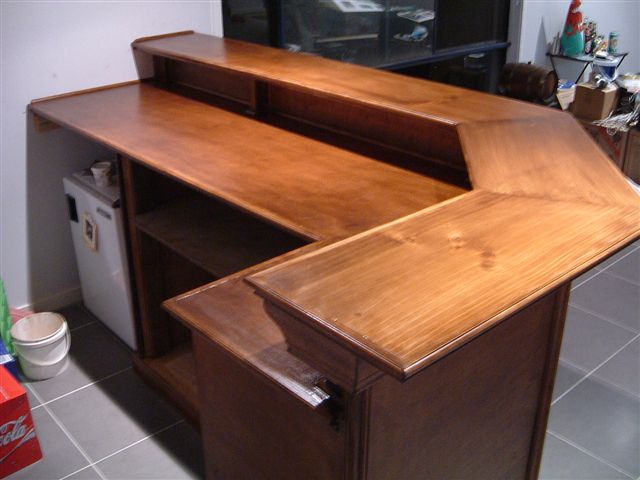
Step 8
And the bar top is placed and cut ot fit. I used shelving pine for this.
Step 9
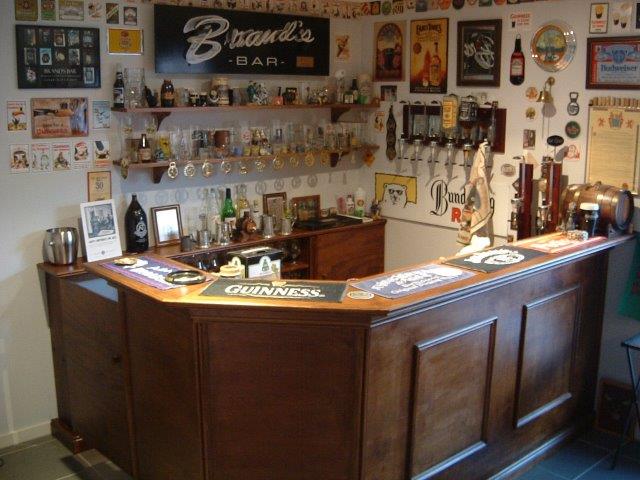
Hard work done, and after sanding and cleaning simply stain and varnish the bar to suit your taste.
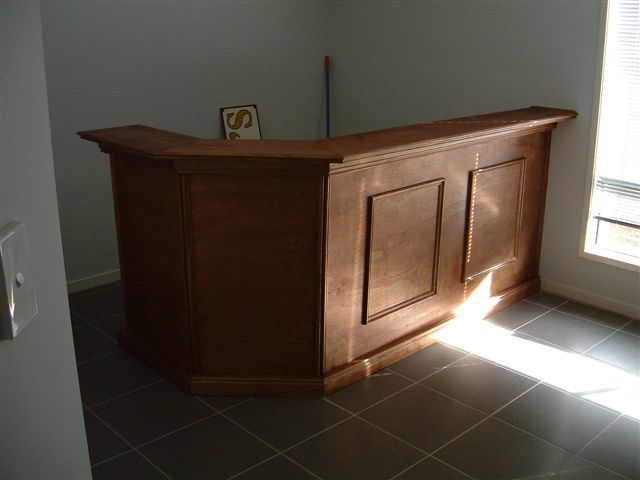
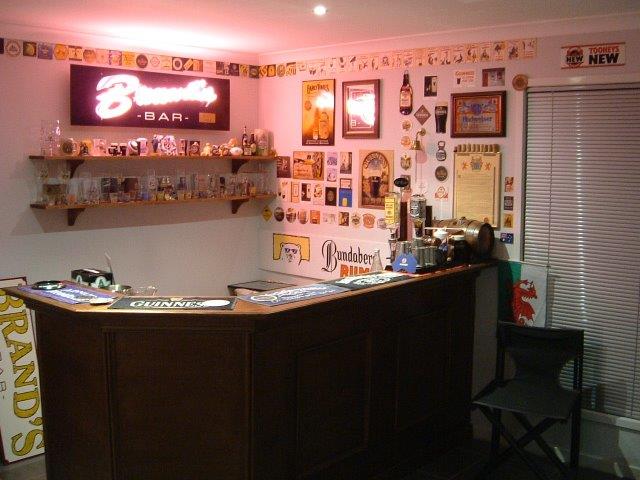
Some final touches, including the neon sign and a little additonal enclosed shelf on the back wall.
Oh and of course some memorabilia.
So that's it!
The steps you see here took around 3-4 weeks of doing some after work, and weekends.
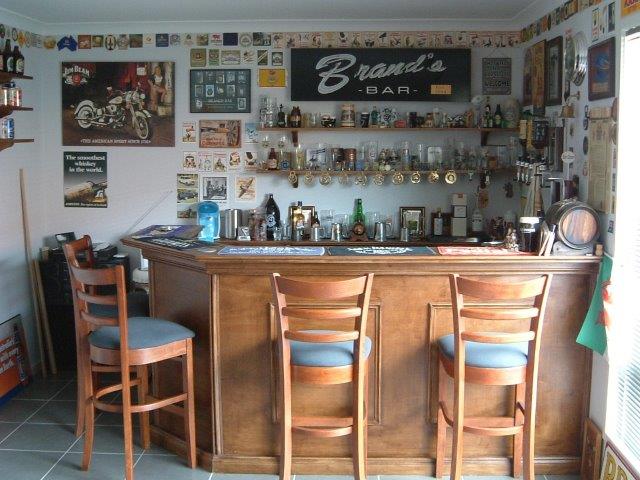
You will have a real sense of pride, and for some reason the beer tastes even better at your own home bar!
Drop by my blog for updated pictures too!
After breaking a tile, I thought I would have a go at it myself.
Here are my basic steps to replace a chipped tile.
Cheers!
Brando.
|
